
So, you have an idea of new business setup or a seasonal blogger who wants to share thoughts over the internet. Or an educator who wants to reach out to his students via online medium.
Fed up of the social media restrictions. You are looking for your branding. Creating a business website or a blog could be beneficial for you.
What you are waiting for. Just register a domain name, buy a suitable hosting plan and give a kickstart to your online presence.
But, wait.
There are plenty of content management systems that you can choose to showcase your ideas online. Content Management System (CMS) is a handy tool for developers with little to no coding knowledge.
This blog post is all about installing WordPress as a CMS for your website. You can create a development platform offline for testing purposes to get an idea of how things will go online.
For this reason, you need to create a Localhost and install WordPress. The below tutorial will guide you on how to install WampServer and WordPress on the local host to streamline your workflow offline.
Key Requirements
Below are the certain requirements that you need to accomplish before installing WordPress on Localhost.
- A Computer or a Laptop with internet connection
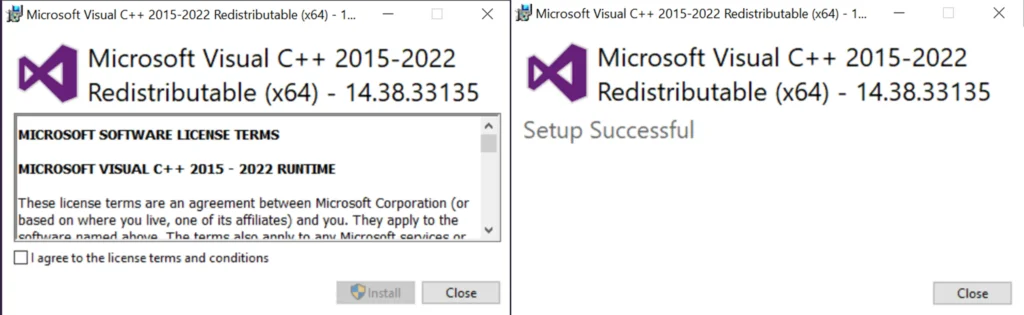
- Essential VC++ packages such as VC++ 2010 SP1 Package (x86), VC 2012 Update 4 (x86), VC 2010 SP1 Package (x64), and VC 2012 Up 4 (x64) MD5 for Wamp Server
- WampServer executable file
- And, common sense… just kidding.
Method to Install Wamp Server
Firstly, you should know what is Wamp. It is a web development environment for Windows that enables you to build web apps with PHP, MYSQL, and Apache2. PhpMyAdmin enables you to manage those databases offline. Here is a step-by-step guide to how to install WampServer.
- Go to wamp server’s official website HERE and Download the WampServer executable file for Windows x86 or x64 according to your Windows onboard

- Download the essential VC++ packages Wamp Server for THIS link
- Agree to the terms and conditions and Install both VC++ packages with administrator rights
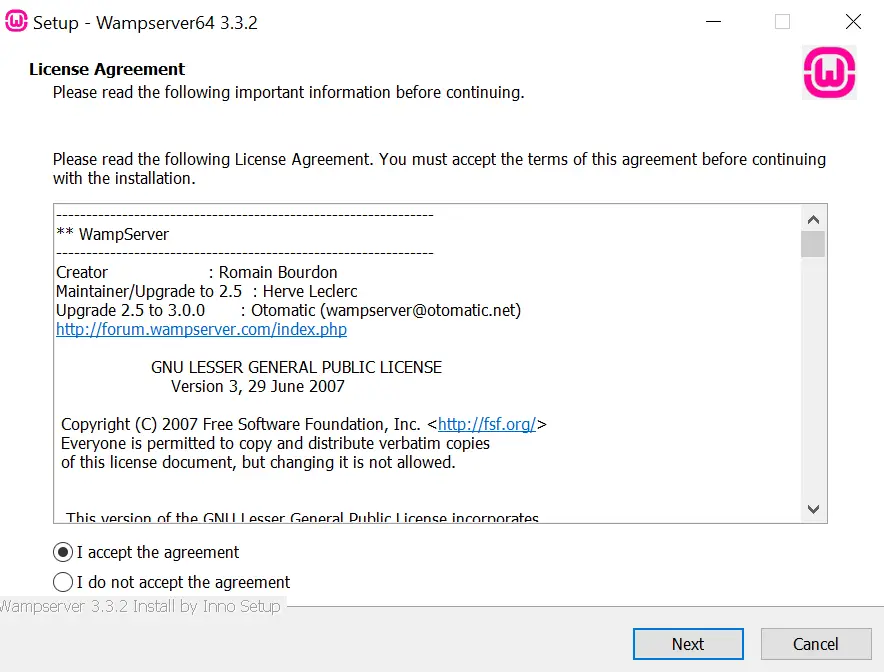
- Now, begin installing the WampServer web application as an administrator
- Choose suitable language
- Accept the user agreement and click on the Next button
- Install the WampServer in c:\wamp64
- Wait for the installation to complete
- Once the installation is complete you can see the WampServer Icon on the desktop of your PC or Laptop
- Open the WampServer to start the services and wait till the service start screen displayed on your PC
- You can verify the WampServer services are working perfectly by checking the right bottom corner of your desktop notification panel
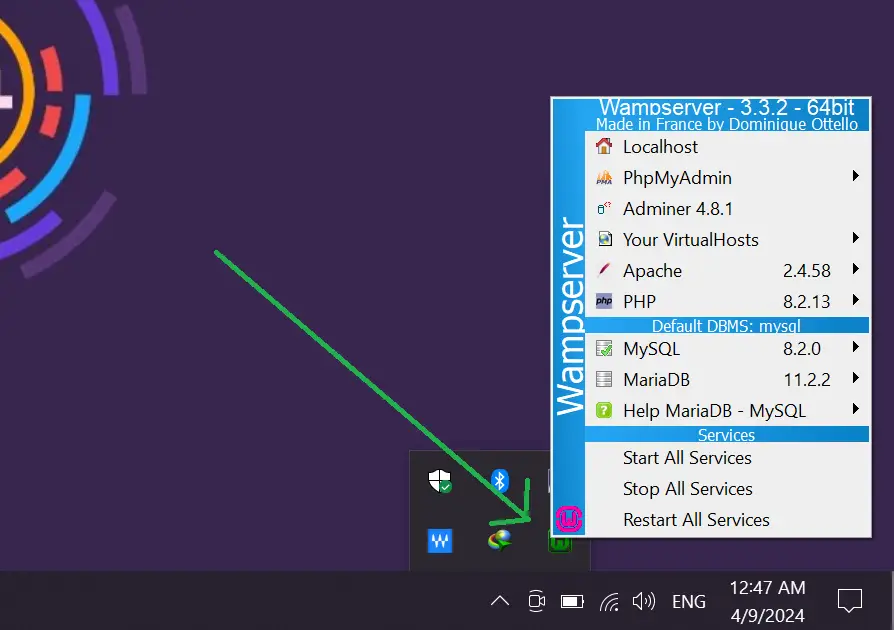
So, you have successfully installed WampServer on your Windows 10 PC. WampServer installation is an essential element before WordPress. Now, it’s time to install WordPress on your Windows 10 PC for localhost. You can test your custom themes, plugins, and various WordPress customizations offline.
Method to Install WordPress on Windows 10 PC localhost
After the successful installation of WampServer, now it’s time to install the WordPress on your local host. Below you can find the tutorial to install WordPress CMS in Windows 10.
- Download the WordPress files from WordPress.org
- Extract those files to a folder
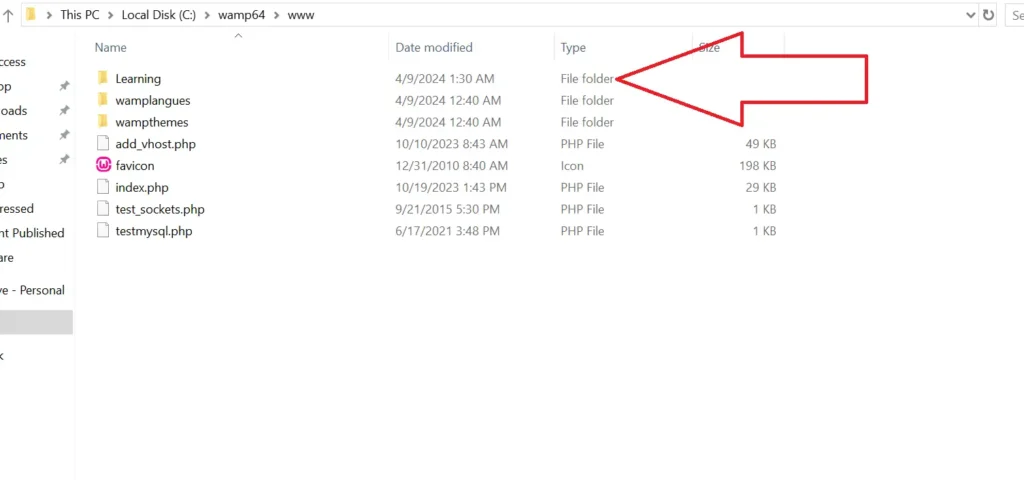
- Copy and paste all the files in C:\wamp64\www folder
- Rename the folder suitably. Let’s say “Learning”
- Run the WampServer services
- Open your web browser and type localhost in the address bar. You’ll see the below page in your web browser tab

- Click on PhpMyAdmin insert the default username to “root” leave the password “BLANK” and login into the PhpMyAdmin panel
- Create a database with a similar name “Learning”

- After creating database successfully go web-browser
- Open the localhost/example or in my case localhost/learning, you’ll see the WordPress installation process started
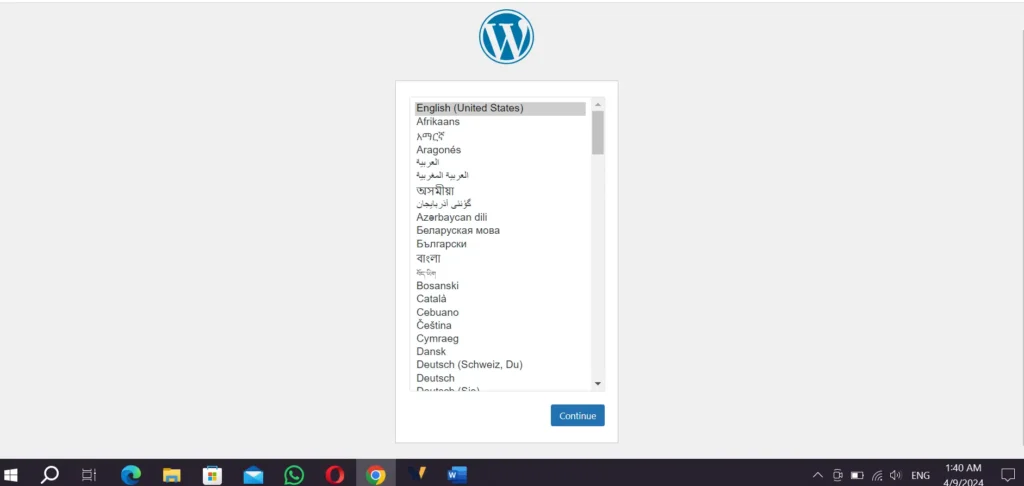
- Select the Language and click on next
- Insert the database name you created right, default username to “root” and leave the password field BLANK, and click on the submit button

- Hurrah, you are ready to go with the final WordPress installation as you do on online domain name
- Login to the WordPress dashboard
- Yes, you’ll be redirected to your WordPress Dashboard

Congrats on installing WampServer and WordPress on your Windows 10 & 11 PC. Now you can build an offline website for your business and test your web-development skills.
Final Thoughts
You can install the WordPress on your Windows PC by following above simple methods. These methods are tested and fully working. An offline web development environment has various advantages. You can test your skills, install 3rd party themes and plugins offline and see the impacts. It will enhance your online productivity. You can export the offline data and import it on your online domain. You can create projects for your clients as many as you can.
Read more blogs related to web development on Today Reader. Thanks